Product Description
Iridium - Amp Modeler & Impulse Response Cabine
LEAVE YOUR AMP AT HOME.
Nothing reveals the true nature of your guitar and your playing like a world-class tube amp driving a perfectly matched speaker cabinet in a great sounding room. Now there is a pedal that truly delivers that sound and feel, with simple controls for effortlessly dialing in the perfect amp tone when going direct. Discover inspiring tube amp responsiveness, unprecedented impulse response speaker cabinet realism, and controllable natural sounding room ambience.
Go Direct With Gorgeous Tone.
Iridium gives you three iconic amplifiers, with a total of nine impulse response speaker cabinets that complement the tonality of the amp. Skip the hassle of lugging around or miking amps. Place Iridium on your pedalboard and send gorgeous stereo amplifier tones, stunningly realistic cabs, and lush room ambience direct to a recording interface or PA system. With Iridium, it’s a snap to dial in a direct tone that will truly inspire and sound great whether you are monitoring through in-ears, floor wedges, reference monitors, or studio headphones.
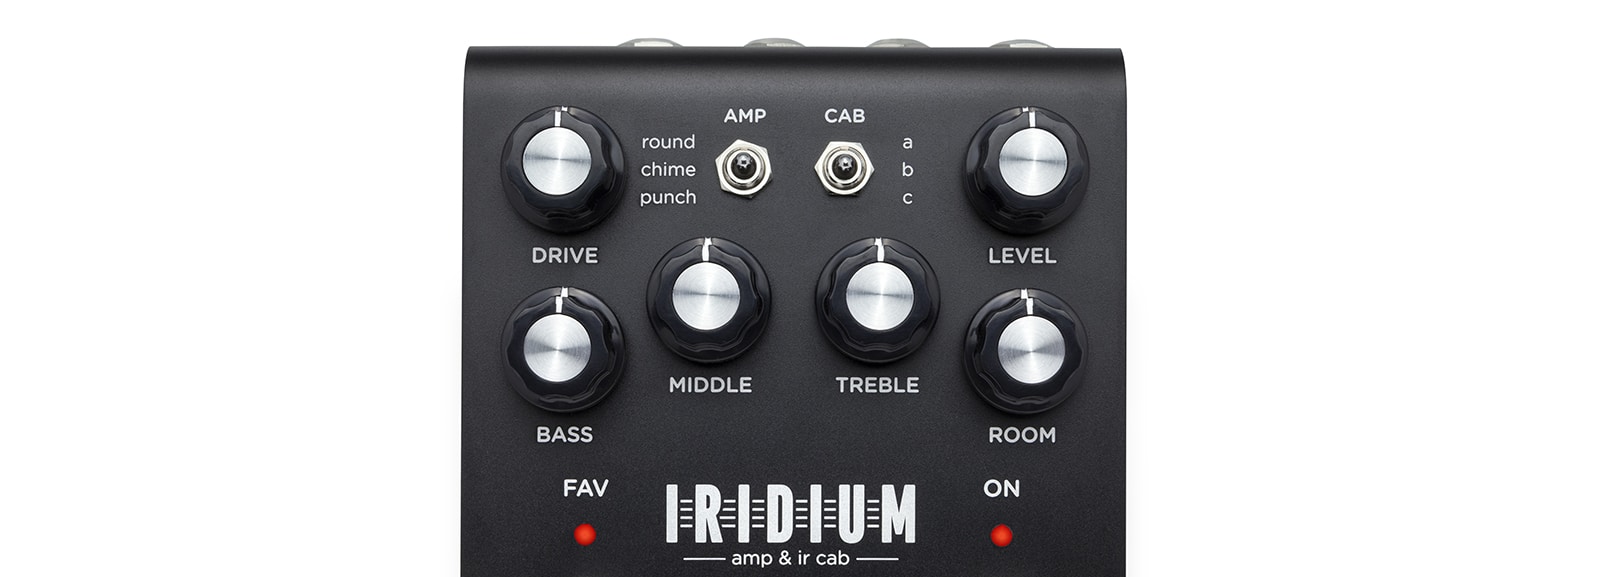
THREE ICONIC AMPLIFIERS
Our Matrix Modeling™ process captures all the subtleties and unique tonal qualities of each amplifier. We’ve taken three iconic tube amps with distinct characters and mathematically modeled every aspect of their circuitry with absolute precision to deliver the response, feel, and inspiring experience of playing through the original amps at their best. Taking the process a step further, we’ve hot-rodded each amp to provide an extended range of tonal options beyond what was available from the original designs.
NINE STEREO IR CABINETS
Iridium’s speaker cabinets offer a level of realism and responsiveness unprecedented in outboard effects. Iridium delivers full stereo 24bit 96kHz resolution for the entire 500 milliseconds of its speaker cabinet impulse responses. Until now, IRs of this resolution have only been available for use within studio recording software. Iridium’s breakthrough technology means you can use the very best impulse responses available, bringing maximum realism to your pedalboard.
ADJUSTABLE ROOM AMBIENCE
Iridium’s hybrid room reverb combines a 256 millisecond stereo impulse response with Strymon’s reverb tank algorithm for extended decay. This combination places your amp and cab in a natural sounding room (small, medium, or large), creating a space for your amp to open up and breathe.
The Amps We've Always Wanted.
BASED ON* A FENDER® DELUXE REVERB
The Deluxe is one of the most recorded amps in history for good reason. This amp is clean, bright, and mid-scooped, with plenty of headroom. At higher Drive settings it delivers an overdriven sound unique to its architecture. We chose the Deluxe’s Normal channel for its round tone that plays well with pedals. While preserving access to all the tones originally available with this channel, our model gives you something extra: a midrange control. With the midrange at noon, you get the original fixed-resistor value and standard tonal characteristics of the Deluxe. Turn down the midrange for a more scooped sound, or turn it up for tweed-era tones.
CHIME AMP
BASED ON* THE BRILLIANT CHANNEL OF A VOX® AC30TB
The amp that defined the guitar sound of the British Invasion. Our model of the AC30TB Brilliant channel is jangly, bright, and chimey, providing air for subtle passages with a light touch, and bite when you want to dig in. For this amp, the Middle knob acts a Tone Cut knob, providing high-end roll-off just before the power tubes, per the original AC30 design. In addition to the full available gain of the original amp, toward the top end of the Drive knob’s range of travel, we’ve added a frequency-shaped front end boost to tighten the low end while driving the amp further into saturation.
Punch Amp
BASED ON* A MARSHALL® PLEXI (SUPER LEAD MODEL NUMBER 1959)
This powerful amp is meatier, with higher gain than the other two amps, and has a powerful midrange response. This amp features a buttery, smooth overdrive. At higher Drive settings it will deliver all the high gain distortion and growl this amp is known for, and then some. Setting the Drive control at around 2 o’clock gets you the maximum gain the original Plexi design allowed. Beyond that, our model has some additional gain on tap, giving you access to custom hot-rodded Plexi high gain tones.
AMP SCIENCE
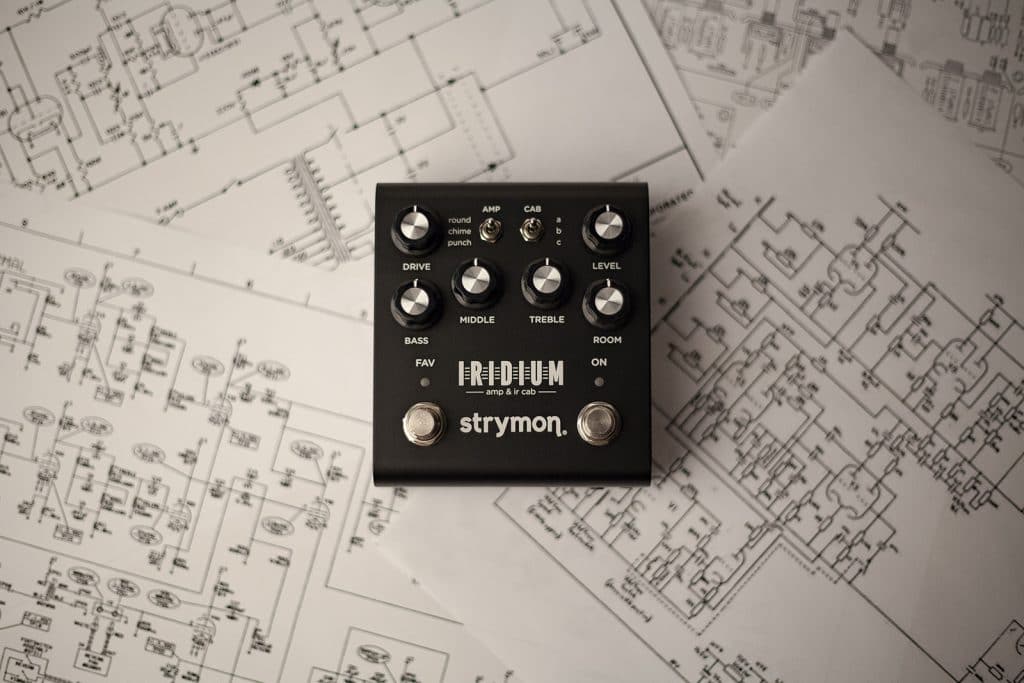
Our Matrix Modeling™ process captures all the subtleties and unique character of each amplifier.
From the unique composition of each tone stack, to component values, bias levels, corner frequencies, and tube stage gain; all of these factors affect the way a note or chord reacts and evolves over time, and all have been mathematically modeled with the highest fidelity.
We included multi-stage power sag, so that the sag response and time constant for each stage of the amplifier is modeled separately, adding further harmonic complexity and realistic feel.
We also modeled the compression, limited cone movement, and speaker distortion that can happen at high signal levels.
We carefully set the range and taper for each knob to make it easy to dial in a variety of great tones with intuitive, predictable amp-like responsiveness.
Combining the meticulous reproduction of original circuits with careful fine-tuning has resulted in three stellar amp models that deliver the response, feel, and inspiring experience of playing through the original amps at their best.
A Carefully Curated Cabinet Collection.
NINE STUNNINGLY REALISTIC CABS.
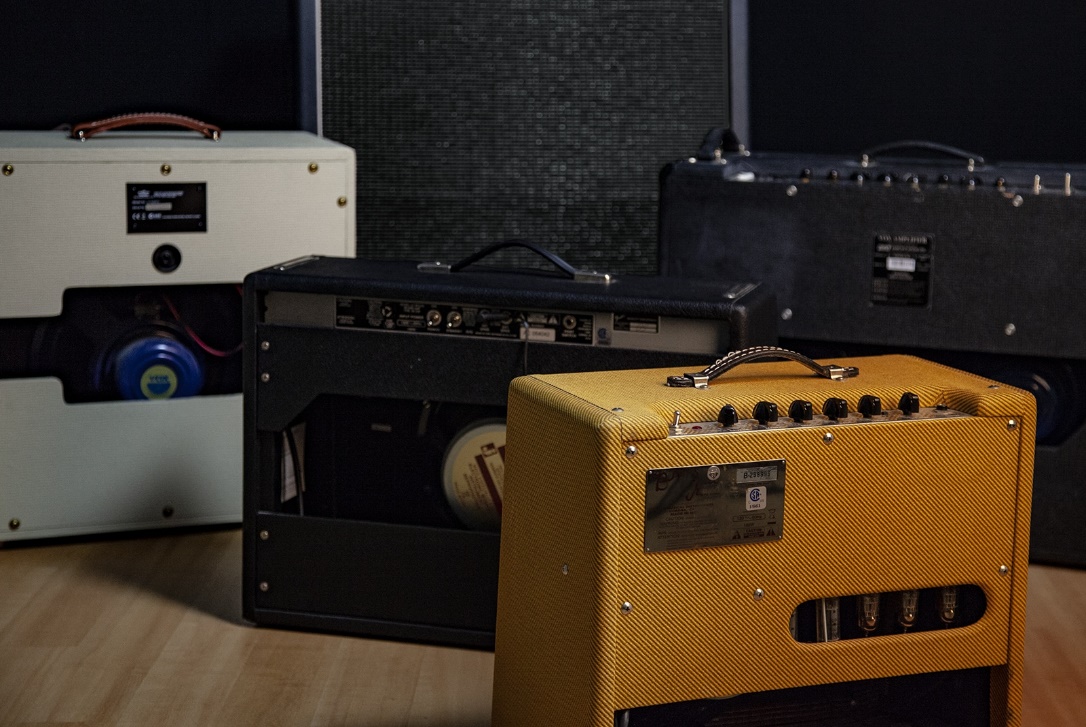
Iridium comes pre-loaded with a carefully curated collection of premium cabinet IRs from OwnHammer, Celestion, cabIR and Valhallir.
You can also load your own IRs using Strymon Impulse Manager software.
Deluxe Reverb® 1×12″ by OwnHammer
Impulse of a vintage Fender® Deluxe Reverb 1×12″ open back combo with a 1978 Fender CTS ceramic 12″ speaker.
Blues Junior® 1×12″ by cabIR
Impulse of a 1×12″ Blues Junior cabinet with a Jensen® C12N speaker.
Vibrolux® 2×10″ by cabIR
Impulse of a 1965 Fender Vibrolux 2×10″ with Jensen C10NS speakers.
AC30 2×12″ AlNiCo by OwnHammer
Impulse of a Vox® AC30/6 open back 2×12″ combo with 2001 Celestion® T0530 Blue AlNiCo speakers.
1×12″ AlNiCo by Celestion
Impulse of a Celestion Blue AlNiCo speaker in a closed back 1×12″ cab.
Mesa® 4×12″ by Valhallir
Impulse of a 4×12″ Mesa Boogie halfback with two Celestion Black Shadow® MC-90 and two ElectroVoice® Black Shadow EVM12-L speakers.
GNR 4×12″ by OwnHammer
Impulse of a 1971 Marshall® 1960B “basketweave” 4×12″ cabinet with 1971 Celestion T1221 G12M-25 speakers.
2×12″ Vintage 30 by Celestion
Impulse of a Celestion Vintage 30 in an open back 2×12″ cab.
Marshall 8×12″ AlNiCo by cabIR
Impulse of a 1965 Marshall 8×12″ re-issue full stack cabinet, with Celestion T652 AlNiCo speakers.
Where Can I Use Iridium?
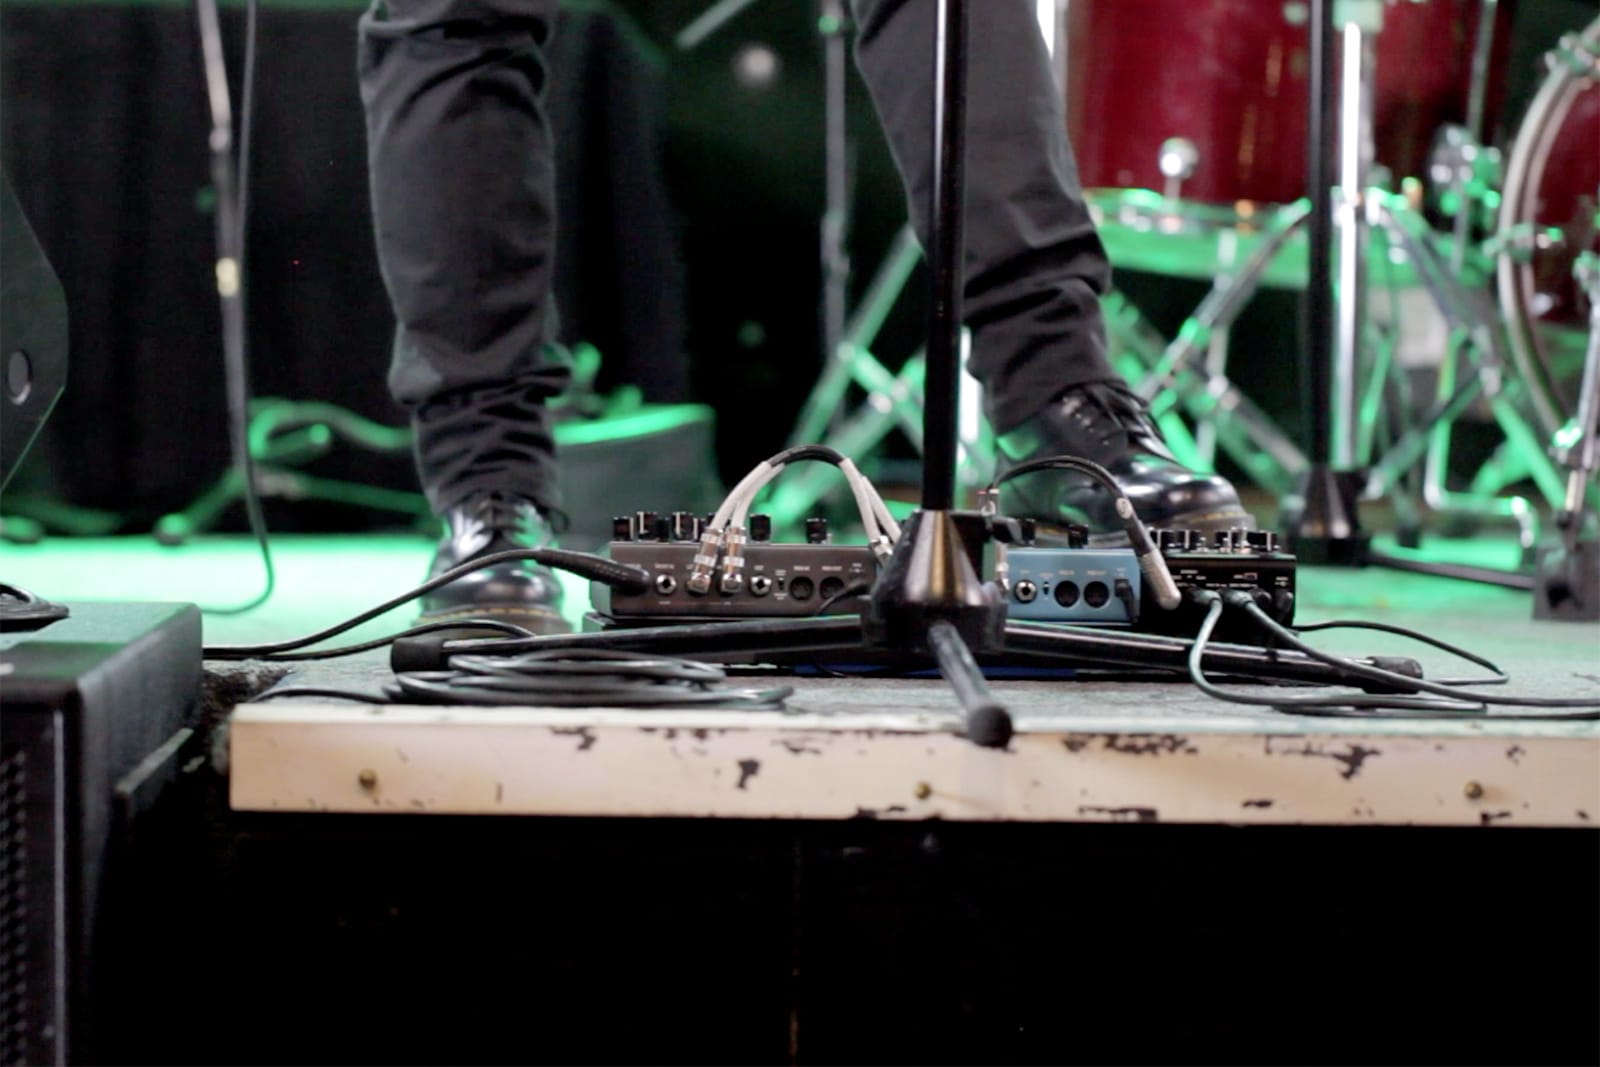
Want to play live with the exact same tones that you use at home or in the studio?
Or have access to multiple amp and cab setups without having to lug them on stage?
Leave your amps at home, and connect Iridium directly to the house PA system.
Going direct eliminates the need to mic an amp, giving sound engineers the option to send your amp and cab tone directly to a wedge or in-ear monitors.
Instant adjustments to your tone are right there on your pedalboard, only a footswitch away. With Iridium, there are no menus to wade through—just familiar, responsive amp-style controls for instant, easy adjustment.
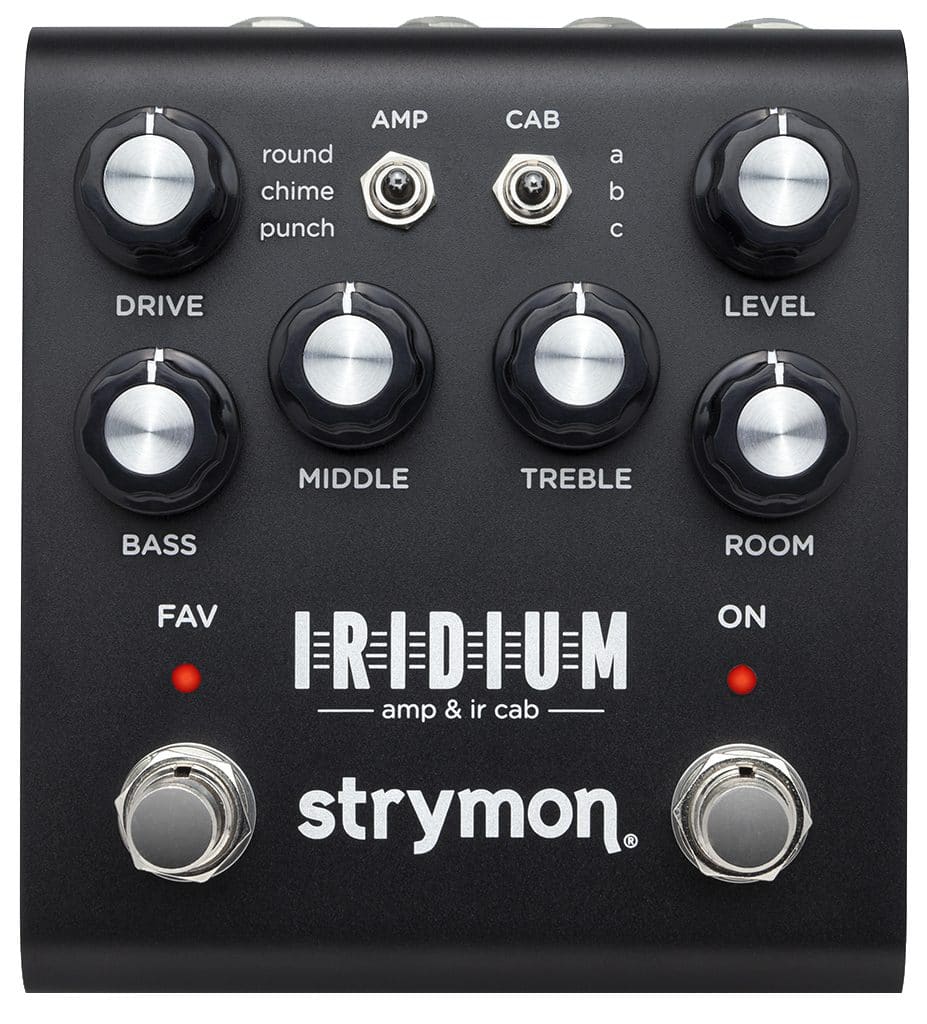
Tone Adjustment and Shaping
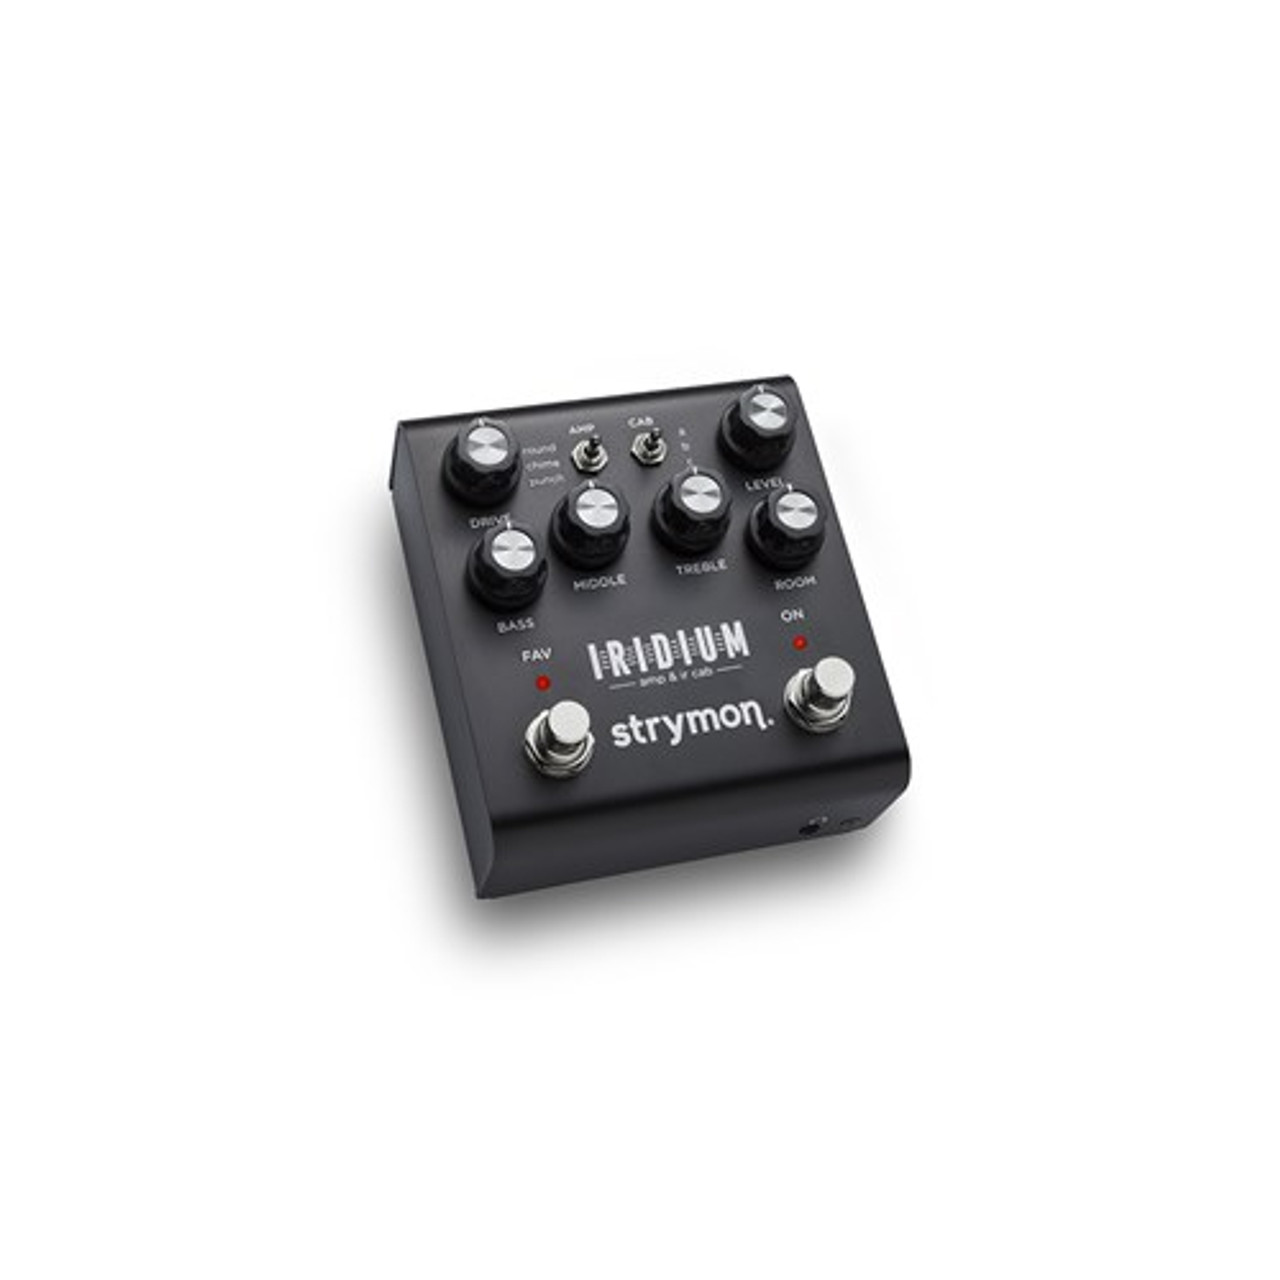
FRONT PANEL
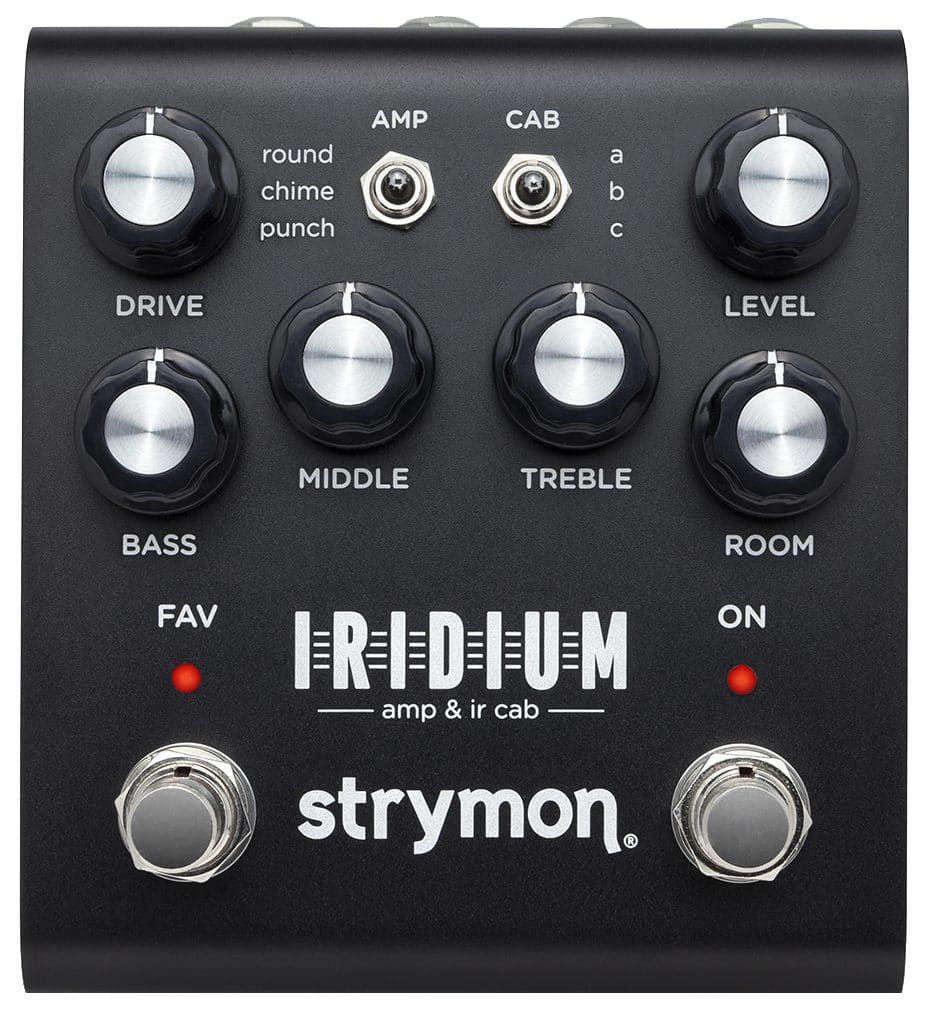
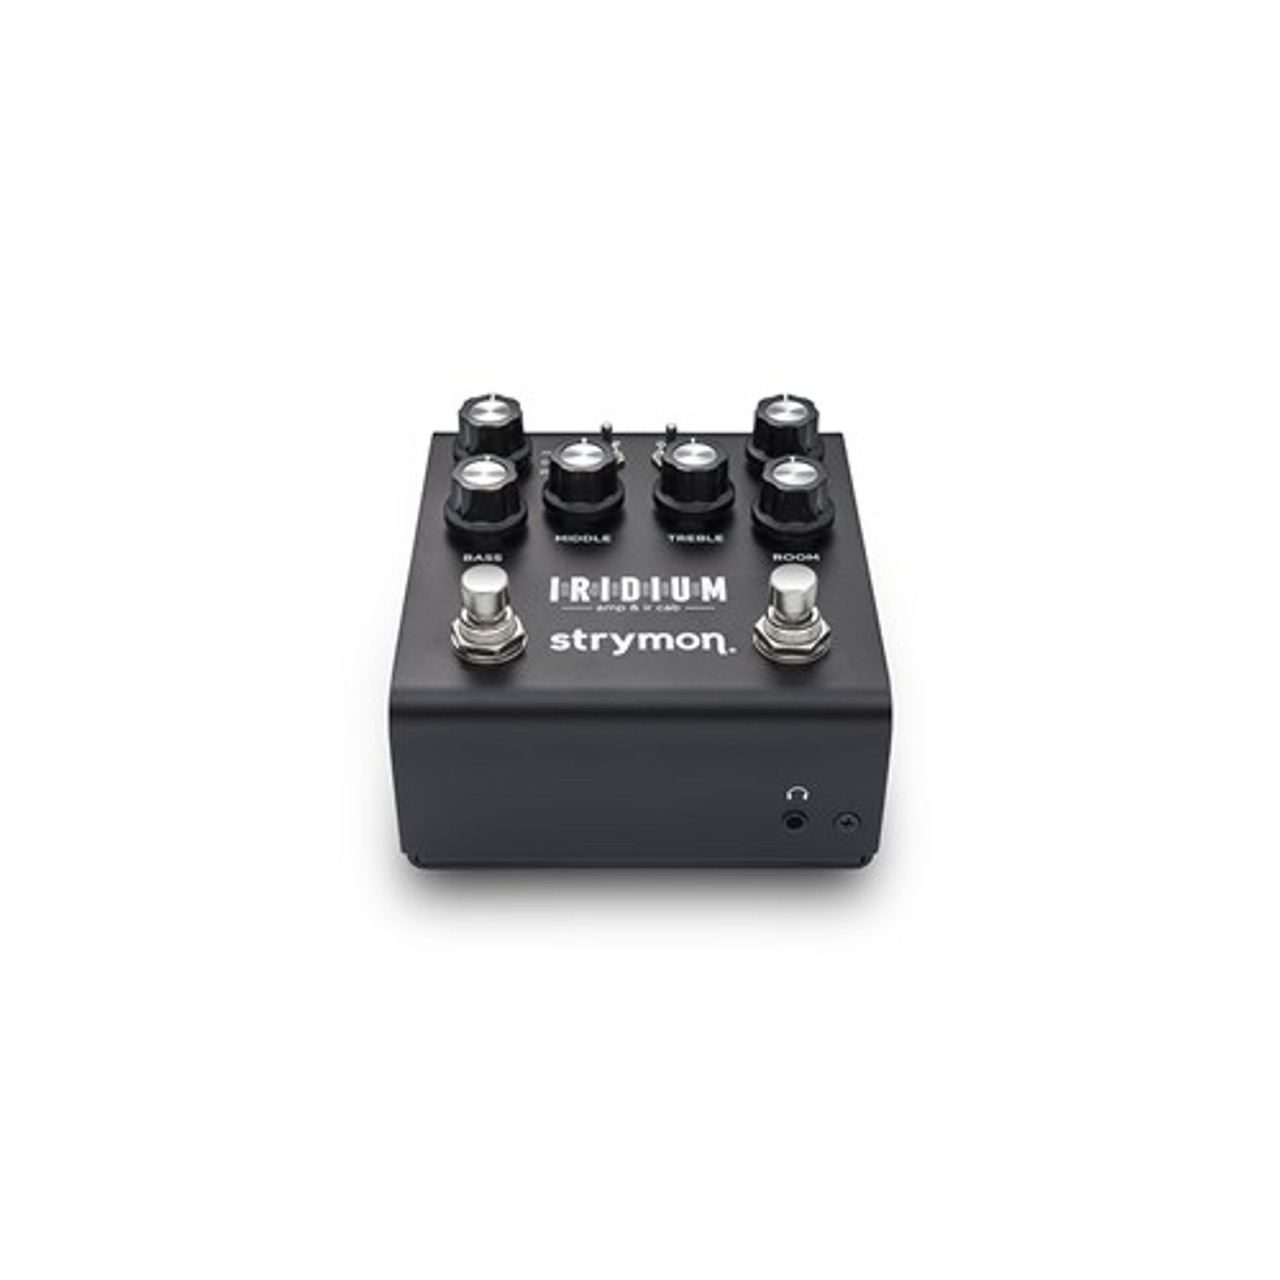
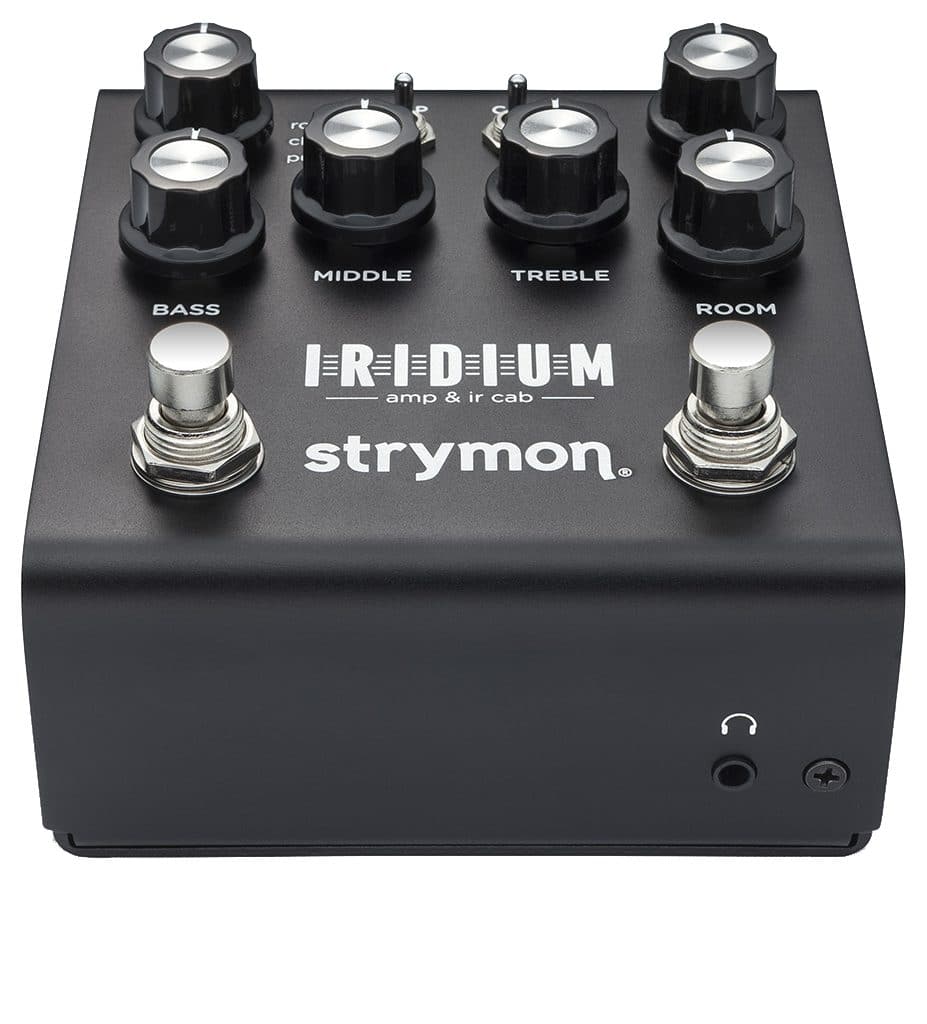
SIDE PANEL
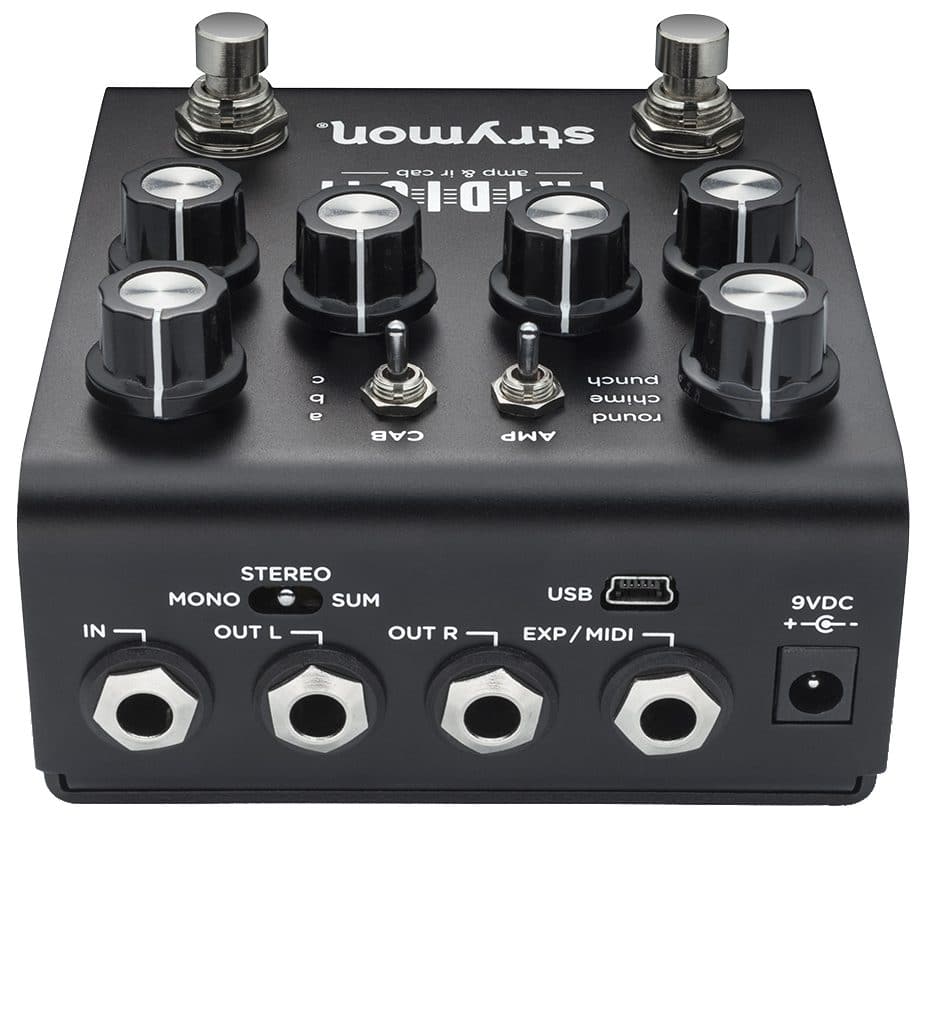
REAR PANEL
MORE FEATURES
AN AMP, THROUGH A CAB, IN A ROOM.
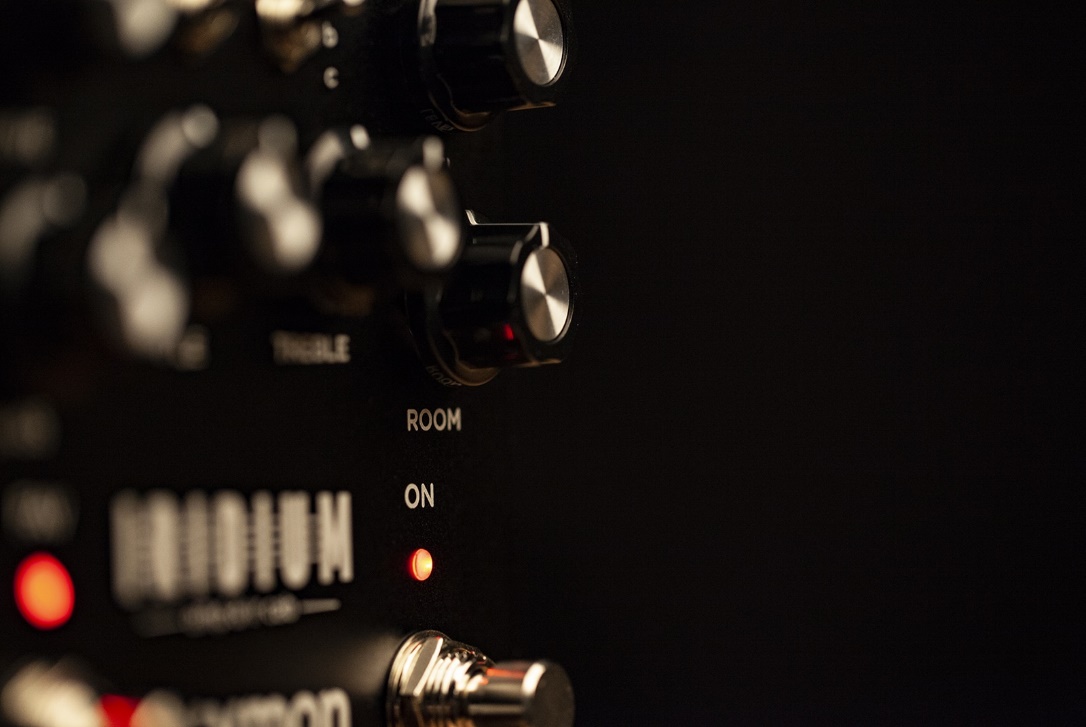
Iridium features a hybrid room ambience design that combines 256ms impulse response captures of real rooms for realistic early reflections, with an algorithm for extended decay and modulation.
This combination places your amp and cab in a natural sounding room, creating a real space for your amp to open up and breathe.
In addition to controlling the amount of room ambience, you can also choose a small, medium, or large room.
Design
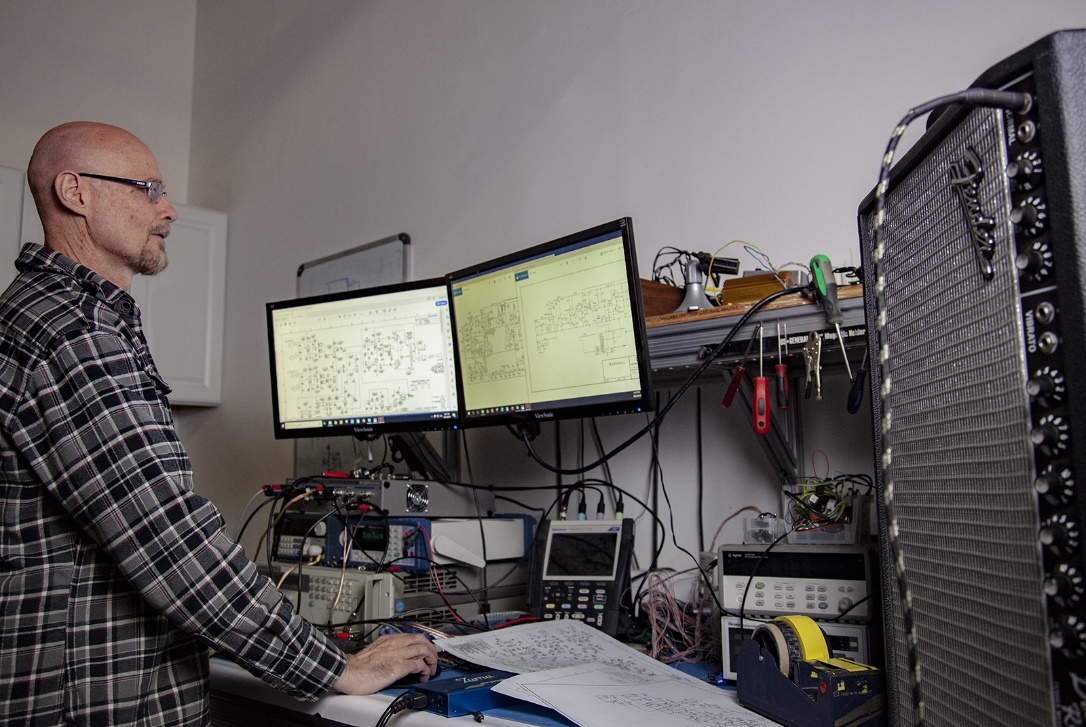
Delivering the complete experience of playing into an amp through a miked cab in a room is a research and development project that has been years in the making.
The amp development began in the tube emulation and cascading gain stage topography created for Riverside, and then majorly leveled up for the intense degree of real-time calculation Matrix Modeling™ required to create Iridium’s amps.
We’re not just talking about the perfectly recreated tone stacks, but also things like the treble bleed on the gain controls, multi-stage power supply sag, and preamp and power amp tube emulation.
Our talented and tireless engineering team covered quite a bit of new ground on the way to recreating these classic amp designs with exact mathematical fidelity, and then expanded the capabilities of each amp in musically useful ways, giving you the full range of original amp sounds, and then some.
Specs
Sound Design
- Three amplifier models crafted using Matrix Modeling™, capturing the subtleties and unique tonal qualities of each amp
- Round Amp – based on* a Fender® Deluxe Reverb®
- Chime Amp – based on* the Brilliant channel of a Vox® AC30
- Punch Amp – based on* a Marshall® Plexi (Super Lead model number 1959)
- Nine Impulse Response speaker cabinets, 24bit / 96kHz 500ms
Stereo (three per amp type), pre-loaded with a curated set of IRs: - Deluxe Reverb 1×12″ by OwnHammer
- Blues Junior® 1×12″ by CabIR
- Vibrolux® 2×10″ by CabIR
- AC30 2×12″AlNiCo by OwnHammer
- 1×12″ AlNiCo by Celestion®
- Mesa® 4×12″ by Valhallir
- GNR 4×12″ by OwnHammer
- 2×12″ Vintage 30 by Celestion
- Marshall® 8×12″AlNiCo by CabIR
- Load your own impulse responses using Strymon Impulse Manager software
- Hybrid IR/algorithmic Room control with selectable small, medium, and
large rooms - Simple, responsive amp-style controls for Drive, Level, Bass, Middle,
and Treble - Premium stereo high impedance discrete JFET analog front end with
up to 22dB of pure analog gain
Ins, Outs, and Switches
- Stereo Input (requires TRS adapter cable)
- Stereo Output
- Operates at instrument and Line Level input sources
- Discrete transistor headphone amplifier
- Expression pedal input provides seamless morphing between knob positions (Expression mode), or smooth pre/post volume control with logarithmic taper (Volume mode)
- USB jack for connecting to Strymon Impulse Manager software
to add and edit your own speaker cabinet IRs - Compatible with Strymon MultiSwitch Plus for remote selection of up to 4 presets
- Full featured MIDI control accessible via EXP Jack for remote parameter control and access to 300 preset locations (requires Strymon MIDI EXP cable or MIDI to TRS interface)
Audio Quality
- Ultra-low noise, high performance 24-bit 96kHz A/D and D/A
converters provide uncompromising audio quality - Super high performance SHARC and ARM co-processors
- 32-bit floating point processing
More
- Transparent Analog Buffered Bypass
- Strong and lightweight anodized black aluminum chassis
- 9V DC power supply included
- Power requirements: maximum 9 volts DC center-negative, with a minimum of 500mA of current
- Dimensions:
- 4.5″ deep x 4″ wide x 1.75″ tall
- 11.4 cm deep x 10.2 cm wide x 4.4 cm tall
- Designed and built in the USA
*All product names are trademarks of their respective owners, which are in no way associated or affiliated with Strymon. These product names, descriptions and images are provided for the sole purpose of identifying the specific products that were studied during Strymon’s sound design process. Fender®, Deluxe Reverb®, Blues Junior®, and Vibrolux® are registered trademarks of Fender Musical Instruments Corporation. Vox® is a registered trademark of Vox R&D Limited. Marshall® is a registered trademark of Marshall Amplification Plc. Mesa/Boogie®, Half-Back®, and Black Shadow® are registered trademarks of Mesa/Boogie, Ltd. Celestion® is a registered trademark of Rola Celestion, Ltd. Electro-Voice® is a registered trademark of Robert Bosch, GmbH. Jensen® is a registered trademark of Sica Altoparlanti S.R.L.
WHAT IS IRIDIUM?
Iridium is an amp modeler that provides you with 3 classic tube amplifier circuits which can be paired with one of 9 ultra- realistic, full stereo Impulse Response (IR) speaker cabinets.
AMPLIFIERS
- round – Based on a Fender® Deluxe Reverb®*
- chime – Based on the Brilliant channel of a Vox® AC30TB*
- punch – Based on a Marshall® Plexi*
Every aspect of the amplifier’s circuitry has been mathematically modeled with absolute precision to deliver the response, feel, and inspiring experience of playing through the original amps at their best. Taking the process a step further, we’ve hot-rodded each amp to provide an extended range of tonal options beyond what was available from the original designs.
IMPULSE RESPONSE SPEAKER CABINETS
Iridium delivers full stereo 24bit 96kHz resolution for the entire 500 milliseconds of its speaker cabinet impulse responses, allowing you to use the very best impulse responses available. We have provided a curated set of 9 speaker cabinet IRs from top IR vendors Cabir.eu, Celestion®, Ownhammer®, and Valhallir.at.
Additionally, you can load your own IR files to Iridium’s 9 cab slots using our free Strymon Impulse Manager software.
ROOM AMBIENCE
Iridium features a hybrid room ambience design that combines 256ms impulse response captures of real rooms for realistic early reflections, with an algorithm for extended decay and modulation. This combination places your amp and cab in a natural sounding room, creating a space for your amp to open up and breathe. In addition to controlling the amount of room ambience, you can also choose a small, medium, or large room.
*All product names are trademarks of their respective owners, which are in no way associated or affiliated with Strymon. These product names, descriptions and images are provided for the sole purpose of identifying the specific products that were studied during Strymon’s sound design process. Fender®, Deluxe Reverb®, Blues Junior®, and Vibrolux® are registered trademarks of Fender Musical Instruments Corporation. Vox® is a registered trademark of Vox R&D Limited. Marshall® is a registered trademark of Marshall Amplification Plc.
HOW DO YOU CONNECT TO IRIDIUM?
CONNECTING TO IRIDIUM’S INPUT
Iridium has a single input that will work with MONO or STEREO TRS input signals depending on the setting of the Input Selector switch on the back of the pedal. The input impedance is 1 Meg Ohm.
Iridium can accept Instrument (-10dB) or Line Level (+4dB) signals up to +8dBu. If using Line Level signals, please make sure to set the INPUT LEVEL to LINE.
***NOTE: Never connect the speaker output from an amplifier into Iridium!!!***
- To set the INPUT LEVEL on Iridium:
- Press and hold the FAV footswitch while connecting power to Iridium until both LEDs start blinking.
- Release the footswitch and use the DRIVE knob to select the INPUT LEVEL. The status will be shown on the FAV LED:
- Instrument Level = GREEN
- Line Level = RED
CONNECTING FROM IRIDIUM’S OUTPUTS
Iridium is an amp modeler and IR cab processor that can be used in a variety of ways. With both the amp and IR cab processing active, it is designed for:
- Recording direct to an audio interface
- Connecting to a PA/mixer or powered full range/flat response speakers
It is not really recommended to be placed in front of an amplifier, but if you disable the IR Cab in Cab Bypass mode, you can connect Iridium’s output(s) into the Power Amp Input/Effects Return of an amplifier to use as the preamp for your amplifier.
USING A DI BOX
Iridium’s LEFT and RIGHT audio outputs are 1/4″ unbalanced buffered outputs. The buffered signal when both engaged or bypassed can handle sending signals over long cable runs. However, in some setups, using a DI may help if you encounter any noise or ground loops when connecting Iridium’s outputs directly to a PA/mixer or require balanced connections.
USING AMP OR CAB BYPASS MODES
Iridium gives you the option to bypass either the amp modeling or the IR cab processing for different use cases. The ROOM processing is always active in any of these output modes.
- Amp Bypass mode can be used to send a preamp signal such as from a dedicated preamp or the effects send from your amplifier (or a line level signal from your amplifier first passing through a load box, then, into Iridium) to use with the IR cab processing.
- Cab Bypass mode can be used to send Iridium’s amp modeling signal to use as a preamp into the effects return/power amp input of your amplifier or into another speaker cab processing device.
To bypass either the amp or IR cabinet:
- Press and hold the ON footswitch at power-up to enter this mode.
- Turn the DRIVE knob to select the output mode. The status is shown by the color of the FAV LED.
- Amp+Cab both ON (default) – RED LED
- Amp Bypass – GREEN LED
- Amp bypass is used for when you would like to disable the amp modeling on Iridium, or would like to use another preamp in front of the pedal.
- Cab Bypass – AMBER LED
- Cab bypass is used when when you would only like to utilize the amp modeling from Iridium without the IR speaker cabinet.
- Note: During normal operation, the ON LED will take on the color of the selected mode when lit.
- RED (default) LED for normal mode (both Amp and Cab processing active)
- GREEN LED for Amp Bypass mode
- AMBER LED for Cab Bypass mode
· HOW DO I CHANGE THE INPUT LEVEL MODE ON IRIDIUM?
You can change the input level mode on Iridium to accept either instrument level (default) or line level signals.
To change the Input Level:
- Press and hold the FAV footswitch while connecting power to the pedal.
- Once both LEDs flash, release the footswitch.
- Turn the DRIVE knob to select the Input Level. The FAV LED indicates the status:
- Instrument – GREEN LED (default): Use with guitar level signal sources.
- Line – RED LED: Use with line level signal sources.
- Press the ON or FAV footswitch to exit and store the Input Level.
NOTE: The Input Level power up function persists through power cycles.
HOW DO I CHANGE THE ROOM SIZE ON IRIDIUM?
You can select from 3 different ROOM sizes (small, medium, and large) for the ROOM ambience feature of Iridium.
To change the ROOM size:
- Press and hold the ON footswitch until the LEDs blink.
- Turn the ROOM knob to select the size of the room:
- Small – GREEN LED
- Medium – AMBER LED
- Large – RED Led
- Press the ON footswitch to store the new room size setting to Iridium.
NOTE: The ROOM size is saved individually per preset.
HOW DO I USE THE REAR INPUT SELECTOR SWITCH ON IRIDIUM?
On the back of the Iridium chassis, you will find the Audio Routing selector which selects the input audio routing for the pedal.
- mono: Use when connecting a mono signal source, such as a guitar, into Iridium’s IN jack. Output in this mode is stereo. Use OUT L for mono output.
- stereo: Use when connecting a TRS stereo input signal to Iridium’s IN jack. Output is stereo.
- sum: Use when connecting a TRS stereo input signal that you would like to sum to mono. Both OUT L and OUT R will provide a summed mono output signal.
HOW CAN I DISABLE THE AMP OR CAB ON IRIDIUM?
You can bypass either the amp or the IR speaker cab on Iridium if you desire. The ROOM processing is always active in any of these output modes.
To bypass either the amp or IR cabinet:
- Press and hold the ON footswitch at power-up to enter this mode.
- Turn the DRIVE knob to select the output mode. The status is shown by the color of the FAV LED.
- Amp+Cab both ON (default) – RED LED
- Amp Bypass – GREEN LED
- Amp bypass is used for when you would like to disable the amp modeling on Iridium, or would like to use another preamp in front of the pedal.
- Cab Bypass – AMBER LED
- Cab bypass is used when when you would only like to utilize the amp modeling from Iridium without the IR speaker cabinet.
- Note: During normal operation, the ON LED will take on the color of the selected mode when lit.
- RED (default) LED for normal mode (both Amp and Cab processing active)
- GREEN LED for Amp Bypass mode
- AMBER LED for Cab Bypass mode
O HOW DO I ADJUST THE OUTPUT LEVEL TRIM ON IRIDIUM?
There is an output Level Trim feature on Iridium that allows you to adjust the output volume for both the 1/4″ Output and the Headphone output together without altering the level that is saved to a Favorite setting. It is essentially a global output level adjustment that does not affect the saved levels between your presets. It is also useful when monitoring with headphones.
- To adjust the Level Trim on Iridium:
- Press and hold the ON footswitch until the LED’s blink.
- Turn the LEVEL knob to scale the output level. The FAV LED indicates the status:
- The knob will sweep from -20dB at the (GREEN LED at lowest setting) to +3dB (AMBER LED at maximum setting).
- The ON LED turns RED when there is no boost or cut of the output level, at the 12 o’clock noon knob position.
- Press the ON or FAV footswitch to exit and store the Level Trim setting.
NOTE: The LEVEL TRIM value is not stored as part of a preset and resets each time the pedal powers up.
HOW TO SET THE EXP JACK TO VOLUME PEDAL MODE ON IRIDIUM
You can set the EXP jack on Iridium to accept an expression pedal to act as a volume pedal that is placed either right before the amp modeling, or right after the IR cabinet, but before the ROOM ambience in the pedal’s internal signal routing.
***By default, Iridium’s EXP jack is set to Volume PRE mode from the factory.
To set the EXP jack to Volume PRE mode:
- Press and hold down the FAV footswitch while connecting power to the pedal.
- Once both LEDs on the pedal flash, release the footswitch.
- Turn the LEVEL knob so that the ON LED will light up AMBER to indicate Volume PRE mode.
- Press the ON or FAV footswitch to exit and store the EXP jack setting.
To set the EXP jack to Volume POST mode:
- Press and hold down the FAV footswitch while connecting power to the pedal.
- Once both LEDs on the pedal flash, release the footswitch.
- Turn the LEVEL knob so that the ON LED will light up RED to indicate Volume POST mode.
- Press the ON or FAV footswitch to exit and store the EXP jack setting.
NOTE: EXP jack assignment persists through power cycles.
HOW TO USE EXPRESSION TO CONTROL THE KNOBS ON IRIDIUM?
You can set the EXP jack on Iridium to accept an expression pedal for real-time control over any one or more of the knobs on Iridium in any direction.
To set the EXP jack to Expression mode:
- Press and hold down the FAV footswitch while connecting power to the pedal.
- Once both LEDs on the pedal flash, release the footswitch.
- Turn the LEVEL knob counter-clockwise and the ON LED will light up GREEN to indicate Expression mode.
- Press the ON or FAV footswitch to exit and store the EXP jack setting.
NOTE: EXP jack assignment persists through power cycles.
To assign knobs to be controlled with the expression pedal:
- Connect an expression pedal to the EXP jack of Iridium using a TRS cable.
- Press and hold down both footswitches until BOTH LEDs blink GREEN.
- Set the knob(s) you would like to control to the desired settings for the HEEL position of the expression pedal. The FAV LED will turn RED.
- Now, rock the expression pedal to the TOE position. Now, only the ON LED will blink GREEN.
- Set the knob(s) you would like to control to the desired position you would like for the TOE position of the expression pedal. The ON LED will turn RED.
- When you are done, press either of the ON or FAV footswitches to save this assignment.
NOTE: Expression pedal assignment is saved independently per Favorite/MIDI preset.
HOW TO CONTROL IRIDIUM WITH MIDI
MIDI CONNECTIONS TO IRIDIUM
To begin using Iridium with an external MIDI device, connect the MIDI out jack from a pedal, controller, or computer interface to the EXP jack on Iridium. The following devices can be used to send MIDI messages to Iridium:
- Strymon MIDI EXP cable (link)
- Strymon Conduit MIDI Hub (link)
- Compatible 5-pin MIDI to 1⁄4” MIDI Interface:
- Disaster Area Designs – DPC Gen 3 Series, DMC Gen 3 Series, MIDIBox
- Empress Effects – MIDIbox2
CONFIGURING IRIDIUM TO USE MIDI
Set EXP jack to DIGITAL Mode
Once you have connected Iridium to a MIDI source, you must set the EXP jack to DIGITAL mode.
- Press and hold the FAV footswitch while connecting the pedal to power.
- When the LEDs stop blinking, release the footswitch and turn the LEVEL knob until the ON LED turns BLUE.
- Press either footswitch to store the EXP jack assignment.
Set MIDI Channel
Next, you will need to select a MIDI channel to communicate with Iridium. Iridium is set to MIDI channel 1 by default.
- Press and hold down both footswitches while connecting the pedal to power. Make sure the pedal is NOT connected to a computer via USB during this step.
- When the LEDs stop blinking, release the footswitches and turn the DRIVE knob to set the MIDI channel. The FAV LED will change color as the MIDI Channel is changed:
- GREEN – MIDI Channel 1
- AMBER – MIDI Channel 2
- RED – MIDI Channel 3
- BLUE – MIDI Channels 4-16
- This setting requires a 1/4″ MIDI connection to set. Once the LED turns BLUE, it will blink until the pedal receives a MIDI Program Change message. Once a MIDI PC message is received, the pedal will be set to the MIDI channel that the message was sent through and the LED will stop blinking.
- ex. Send a MIDI Program Change message on MIDI Channel 5 to set Iridium to MIDI Channel 5.
- Press the ON footswitch again to store the MIDI channel assignment and begin using Iridium
- If selecting MIDI Channel 4-16, Iridium will automatically save the setting and boot up once a MIDI Program Change message is received.
SET MIDI OUTPUT MODE
The MIDI Output mode must be set to determine what kind of MIDI data is sent out by Iridium. ***NOTE: If you are only sending MIDI data to Iridium or if you are using the Strymon MIDI EXP cable, the MIDI Output mode must be set to OFF.***
- Press and hold down both footswitches while connecting the pedal to power. Make sure the pedal is NOT connected to a computer via USB during this step.
- When the LEDs stop blinking, release the footswitch and turn the LEVEL knob to select what kind of MIDI data is sent from Iridium to other MIDI devices. The ON LED will show the status:
- GREEN – ON – Using Iridium’s knobs and switches generates MIDI messages that are sent out of Iridium.
- AMBER – THROUGH – Incoming MIDI messages are sent out of Iridium without any additional MIDI messages generated by Iridium.
- RED – OFF (default) – No MIDI messages are sent out of Iridium.
SAVING AND RECALLING PRESETS ON IRIDIUM WITH MIDI
SAVING PRESETS VIA MIDI
With the EXP jack set to DIGITAL mode, the currently loaded settings can be saved to any of Iridium’s 300 preset locations at any time.
- To initiate the SAVE process, press and hold the FAV footswitch. The FAV LED will start blinking BLUE.
- Send a MIDI Program Change message from your connected MIDI device to Iridium. The LED will stop flashing and Iridium will save the settings to the preset location that corresponds with the MIDI Program Change message it received.
- To save a preset to the currently loaded preset location, simply press the FAV footswitch once again while the LED is flashing.
RECALLING PRESETS
- To recall presets on Iridium, send the pedal a MIDI Program Change message on the same channel the pedal is set to that corresponds to the desired preset you would like to recall.
Iridium contains 300 preset locations, numbered sequentially from 0-299. Because MIDI Program Change messages have a maximum number of 128 (0-127) the presets are grouped into three MIDI patch banks:
- MIDI BANK 0 = PRESETS 0-127
- MIDI BANK 1 = PRESETS 128-255
- MIDI BANK 2 = PRESETS 256-299
Iridium always powers up in MIDI Patch Bank 0, so if you plan to stay within the first 127 presets, simply send a standard MIDI Program Change message to load a preset.
If you will be using MIDI Banks 1 and/or 2, it is advisable to send a standard MIDI Bank Change message (MIDI CC# 0 with a value equal to the MIDI Bank#) before each MIDI Program Change.
Selecting bank 0, patch 127 will put Iridium into Manual mode. In this mode, the pedal will be set to the current knob and switch settings. No preset data can be stored at this preset location.
HOW DO I PERFORM A FACTORY RESET ON IRIDIUM?
You can perform a factory reset to clear out and restore all factory presets, expression pedal assignments, secondary functions, customized IR cabs, and power up modes.
To perform a factory reset:
- Press and hold the ON footswitch while connecting power to the pedal.
- Once both LEDs flash, release the footswitch.
- Sweep the MIDDLE knob from 0% to 100% twice to RESET; status on both LEDs.
- Turn 1 – AMBER
- Turn 2 – RED
- Turn 3 – AMBER
- Turn 4 – Both LEDs blink RED, pedal resets, and power cycles
- After the pedal power cycles during the reset, when the ON LED lights up RED, the pedal is ready to use again.
DO I NEED TO USE A DI WITH IRIDIUM?
Iridium’s LEFT and RIGHT audio outputs are 1/4″ unbalanced buffered outputs. The buffered signal when both engaged or bypassed can handle sending signals over long cable runs. However, in some setups, using a DI may help if you encounter any noise or ground loops when connecting Iridium’s outputs directly to a PA/mixer.
WHAT IS IRIDIUM’S OUTPUT LEVEL?
Iridium can output from instrument up to line level and is adjustable by its LEVEL knob and Level Trim secondary function. The Level Trim function can be used to boost or attenuate Iridium’s output without affecting the leveling between your stored presets.
- To adjust the Level Trim secondary function:
- Press and hold down the ON footswitch until both LEDs start blinking while the pedal is already connected to power.
- Release the footswitch and turn the LEVEL knob to adjust the Level Trim. The status will be shown on the FAV LED.
- -10dB to -10dB = GREEN
- +/- 0dB = RED
- Up to +3dB = AMBER
§ USING IRIDIUM’S HEADPHONE OUTPUT
HEADPHONE COMPATIBILITY
Make sure to use headphones with an impedance between 25 to 70 ohms and with sensitivity as close to 100dB/mW as you can get for best performance with Iridium’s headphone output. The higher the impedance of your headphones, the lower the output volume of Iridium’s headphone output will be.
POWER REQUIREMENTS
When using the headphone output on Iridium, this requires the pedal to draw more current than it normally would when the headphone output is not in use.
- If you will not be using the headphone output on Iridium, we recommend providing 9V DC center-negative and at least 300mA of current.
- If you are using the headphone output one Iridium, we recommend providing 9V center-negative and at least 500mA of current as Iridium requires additional current to power the headphone amplifier.
NOISE PERFORMANCE
Iridium was designed as a an amp modeler solution in a pedal format that you can drop into any pedalboard. Like most other guitar pedals, it receives its ground connection via the 1/4″ output jacks. When listening to Iridium through the headphone output and using a wall adapter, there is no connection earth ground like there is with an amplifier. This causes some noise (hum) and is usually reduced when you ground the guitar by touching the strings. The adapter that is included with Iridium significantly reduces this hum when compared to similar parts. If an amplifier with an earth ground connection is available, then, the hum can be eliminated by connecting the LEFT or RIGHT OUT from Iridium to the input of the amplifier. The amplifier doesn’t need to be powered on for the ground to be provided. Power supplies like the Zuma and Ojai have much better filtering and isolation which will improve the noise performance.
BYPASSING THE CAB ON IRIDIUM WITH A ‘NULL CAB’ IR FILE
With Iridium, you can use compatible 24 bit/96kHz ‘Null Cab’ IR files to use as a ‘bypassed cab’ that you can load to either side (LEFT or RIGHT or BOTH) of the 9 Cab Slots with the Strymon Impulse Manager software.
The ‘Null Cab’ files are useful for bypassing one or both sides of the speaker cab processing on Iridium for different routing options.
LOADING NULL CAB IRS TO IRIDIUM
- Download the mono or stereo Null Cab IR file(s) above to save on your computer.
- Open the Strymon Impulse Manager software and navigate to the dowloaded ‘Null Cab’ IR’s with the Impulse Responses browsing folder at the top left of the application.
- Drag the ‘Null Cab’ IR file to the desired Cab Slot:
- You can drag the ‘Null Cab Mono’ IR file into either the LEFT or RIGHT (or both) sides of each Cab Slot.
- The ‘Null Cab Stereo’ IR file will replace both sides (LEFT and RIGHT) of the Cab Slot.
- NOTE: The ‘Null Cab’ IR files are a bit loud, so make sure to adjust the IR level settings in the ‘info’ box for the selected Cab Slot.
- Click ‘Sync Changes’ when you are done editing to save the changes to Iridium

